
Tip & Trick
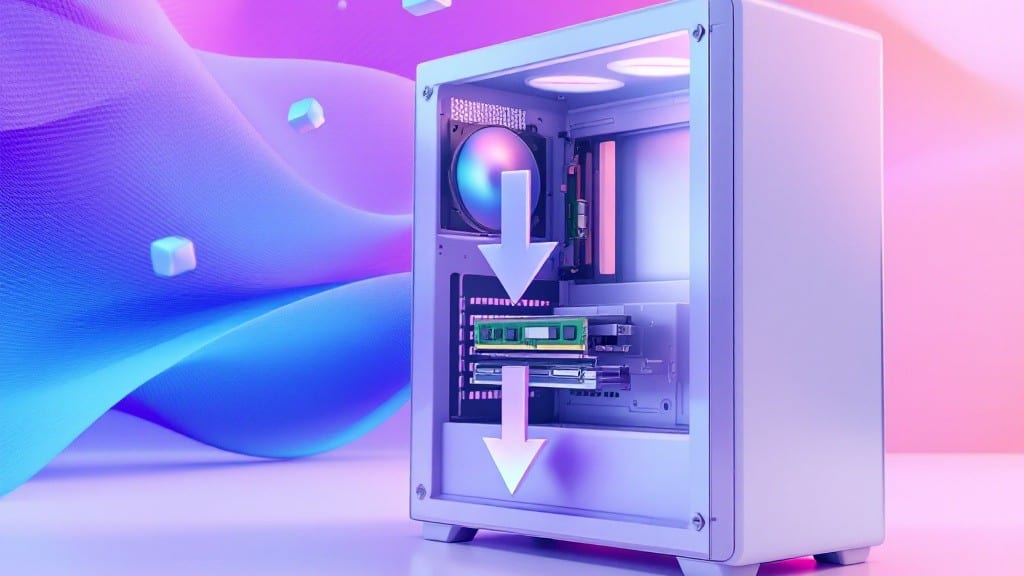
Installing RAM in a desktop PC is easier than you think—my first time was in my uncle’s basement in 1998, and I’ve been helping others do it ever since. The key is patience and knowing where to push (or pull), not brute force.
You’ll need just a few tools and a steady hand, and I’ll walk you through every step so you avoid the common mistakes that trip up beginners. This isn’t rocket science, but it is precision work, and I’ll show you how to do it right the first time.
Before you even touch your PC, check your motherboard’s manual for RAM specs—matching the type (DDR4, DDR5) and capacity (8GB, 16GB) is critical. I still remember helping Dad mismatch RAM in a vintage IBM, and let’s just say the system didn’t like it.
Ground yourself with an anti-static wrist strap (or touch the case often) to avoid frying your new memory sticks. You’ll also need a Phillips-head screwdriver—nothing fancy, just something that fits snugly. Once you’ve got those basics, we’re ready to open that case and get to work.
The actual installation takes under five minutes if you follow the steps carefully. You’ll start by aligning the RAM stick with the slot’s notch—it only fits one way, and forcing it will crack the module. Press down firmly until the clips click into place; you’ll hear it and feel it.
If your motherboard has two slots, you’ll want to use them in pairs for dual-channel performance, but I’ll cover that in the troubleshooting section. Test your work by booting up and checking your system’s BIOS or Task Manager to confirm the RAM is recognized. No beeps, no errors—just smooth operation.
Where most people stumble is when the RAM doesn’t fit or the system doesn’t recognize it. If the stick won’t seat, check for dust or bent pins—gently bend them back with needle-nose pliers if needed. If Windows doesn’t detect the RAM, reboot and enter BIOS to ensure it’s enabled.
I’ve seen this happen more times than I can count, and it’s almost always a simple fix. Once you’ve got it working, you’ll wonder why you didn’t upgrade sooner—your apps will open faster, and multitasking becomes effortless. Let’s get started.
📚 In This Guide
- What you need
- Instructions
- Tips and common mistakes
- Wrapping up and next steps
What you need
- ● RAM Module(s): Compatible with your motherboard (check specs for type—e.g., DDR4, DDR5—and capacity—e.g., 8GB, 16GB).
- ● Screwdriver: A small Phillips-head screwdriver (magnetic tip helps!).
- ○ Anti-static wrist strap (optional but recommended): Prevents static damage to components.
- ○ Compressed air (optional): Cleans dust from slots and RAM modules.
- ● Motherboard manual: Always handy for slot locations and compatibility.
- ○ Tweezers (optional): Helpful for delicate adjustments.
- ○ Flashlight (optional): Illuminates tight spots for better visibility.
Step-by-step instructions for installing RAM in a desktop PC
Here's the straightforward process I follow to install memory modules safely and correctly.
Power Down and Prepare Your Workspace
Shut down your computer completely and unplug the power cable from the back. I always hold the power button for 5-10 seconds afterward to discharge any residual energy in the motherboard. This prevents static shocks that could damage sensitive components.
Place your computer on a clean, flat surface with good lighting. Remove the side panel of your case—most use two thumbscrews or a simple latch. Keep those screws in a safe place so they don't get lost. Touch the metal chassis before handling components to ground yourself and avoid static buildup.
Locate and Align the RAM Slots
Find the memory slots on your motherboard, which are typically near the CPU socket. They look like long, rectangular connectors with a small clip on either end. The slots may have labels like DIMM A1, DIMM B1, etc. Check your motherboard manual if you're unsure which slots to use.
Notice the notch in the center of each slot. This prevents you from inserting the RAM module upside down. The gold contacts on the RAM stick must align perfectly with the contacts in the slot. Gently press down until you hear a click—this confirms the module is fully seated and locked in place.
Install the RAM Modules Correctly
For most builds, you'll install RAM in pairs. If you have two 8GB modules, place them in slots A2 and B2 (or the equivalent pairing for your motherboard). These slots are usually color-coded for dual-channel configuration, which improves performance. Refer to your motherboard manual if you're unsure which slots to use.
Push down firmly and evenly on both ends of the RAM module until the clips on either side snap back into place. You should feel slight resistance before the click that confirms it's locked. Never force it—if it doesn't go in smoothly, you've likely got it oriented wrong. The notch must align perfectly.
Reassemble and Power On
Once the RAM is securely installed, replace the side panel of your case and reconnect the power cable. Double-check that all cables are properly seated and nothing is blocking the fans. Before turning it on, ensure the RAM modules are fully locked in place—no wobbling or loose clips.
Power on your computer and listen for two beeps from the motherboard speaker. This indicates the RAM is detected correctly. If you hear continuous beeping or no beeps, power off immediately, reseat the RAM, and try again. Once you see the BIOS screen or Windows logo, you know the installation was successful.
Verify Installation in BIOS and Windows
Enter your BIOS or UEFI setup (usually by pressing Delete or F2 during boot) to confirm the RAM is recognized. Look for a section labeled Memory or System Information—it should show the correct total capacity and speed (e.g., 16GB DDR4-3200). If the numbers don't match your RAM specs, power off and reseat the modules.
In Windows, open Task Manager by pressing Ctrl+Shift+Esc. Go to the Performance tab and check the Memory section. It should display the correct total installed RAM and speed. If Windows doesn't recognize the full capacity, restart and re-enter BIOS to ensure the RAM is enabled and properly configured.
Tips & tricks for installing RAM in your desktop PC
First-time builders often worry about damaging components during RAM installation, but these straightforward tips will help you avoid common mistakes and ensure a smooth process.
Safety First: I can't stress enough how important it is to discharge any residual energy from the motherboard before handling components. After unplugging your computer, hold the power button for those full 5-10 seconds—this prevents static shocks that could potentially damage sensitive components. Also, always touch the metal chassis before handling the RAM to ground yourself. I've seen too many beginners skip this step and end up with static-related issues.
RAM Orientation: That little notch in the center of your RAM slot is there for a reason—it prevents you from inserting the module upside down. When you align the notch on your RAM stick with the notch in the slot, you'll feel slight resistance before hearing that satisfying click that confirms it's properly seated. If you feel resistance without that click, you've likely got it oriented wrong. Don't force it—just rotate the module 180 degrees and try again.
Dual-Channel Configuration: For most builds, you'll want to install your RAM modules in pairs for optimal performance. If you have two 8GB modules, place them in slots A2 and B2 (or the equivalent pairing for your motherboard). These slots are usually color-coded for dual-channel configuration. I've seen people install RAM in single slots, which limits performance—always check your motherboard manual if you're unsure which slots to use for pairing.
Verification is Key: After installation, don't just assume it worked—verify it properly. The two beeps from the motherboard speaker indicate successful detection, but always double-check in BIOS and Windows. In BIOS, look for the Memory section to confirm the correct total capacity and speed. In Windows, Task Manager should show the full installed RAM. I've had students skip this step and waste hours troubleshooting when the RAM wasn't properly recognized.
Pro Tips for Install Ram In A Desktop Pc
- First-time builders often worry about damaging components during RAM installation, but these straightforward tips will help you avoid common mistakes and ensure a smooth process.
- Safety First: I can't stress enough how important it is to discharge any residual energy from the motherboard before handling components.
- RAM Orientation: That little notch in the center of your RAM slot is there for a reason—it prevents you from inserting the module upside down.
Frequently asked questions
Got questions about installing RAM? You’re not alone—this process can feel intimidating at first! Below, we’ve answered the most common questions to help you feel confident before (or after) diving in.
Do I need to turn off my PC to install RAM?
Always power down your PC and unplug it from the wall before opening the case. Static electricity or accidental power surges can fry your RAM or motherboard. Safety first!
Can I use just one RAM stick instead of two?
Yes, but performance will be slower than using matched pairs. Most motherboards run in single-channel mode with one stick, but dual-channel (two sticks) unlocks better speeds. Check your motherboard manual for ideal configurations.
What if my RAM isn’t seating properly?
If your PC won’t boot or shows errors, gently press down on the RAM sticks until the clips click into place. Avoid forcing it—misaligned pins can damage the slot. Try reseating it or testing in a different slot (if supported).
Is it worth upgrading to faster RAM if my current setup is fine?
It depends! If your RAM is the bottleneck (e.g., slow speeds or high latency), upgrading can boost performance in games or multitasking. But if your CPU is outdated, faster RAM won’t help much. Run a benchmark test first!
Do I need special tools to install RAM?
Nope! Just use your fingers—RAM slots are designed for a firm but gentle push. Avoid metal tools (like screwdrivers) to prevent static damage. A anti-static wrist strap is optional but helpful if you’re extra cautious.
Wrapping up and next steps
You’ve made it! Installing RAM in your desktop PC is a breeze once you know the steps—and now you do. 🎉 Whether you’re upgrading for better performance or building your first rig, this guide gave you the confidence to handle it like a pro.
With your new memory modules securely in place, your system will run smoother than ever.
Ready for the next challenge? Consider tweaking your BIOS settings for optimal performance or exploring other upgrades like a faster SSD or GPU. Every small step brings you closer to the ultimate gaming or productivity machine!